From the Judge’s Chair
I was looking back on some past articles that Bill Enk (NRCHA Director of Judges and teller of great stories) has written for the NRCHA magazine and saw this. It’s so well written about the importance of reading a cow, that I thought I’d share it.
")
From the Judge’s Chair May 2022
Bill Enk on reading a cow
Everyone has their strengths and weakness when it comes to showing reined cow horses. Reading a cow accurately is a must. Sometimes luck is involved by drawing a perfect cow, but when that doesn’t happen, the showman that reads the cow the best has a definite advantage.
In the herd work, most people pick the cattle they want to work before they walk down to the herd. They have watched the cattle when the herd was settled and usually watch each rider before them cut so they know which cattle have been used and which are still fresh. Having a good idea about the behavior of the cattle to be cut goes a long way toward earning a good score.
Cutting in the center of the pen and staying even on both sides of a cow are a must for credit to be earned. How far to go by the cow to control and turn him is part of reading a cow accurately. Go too far, you might lose working advantage: don’t go far enough, the cow might not set up and turn, causing your help or the fence to turn him- no credit there.
The exhibitors that read the cow best know when they can play offense and when to play defense. If the cow is aggressively trying to get back to the herd, it’s time to be on the defensive. If the animal lets you control him in the middle of the pen, it’s time to play offense.
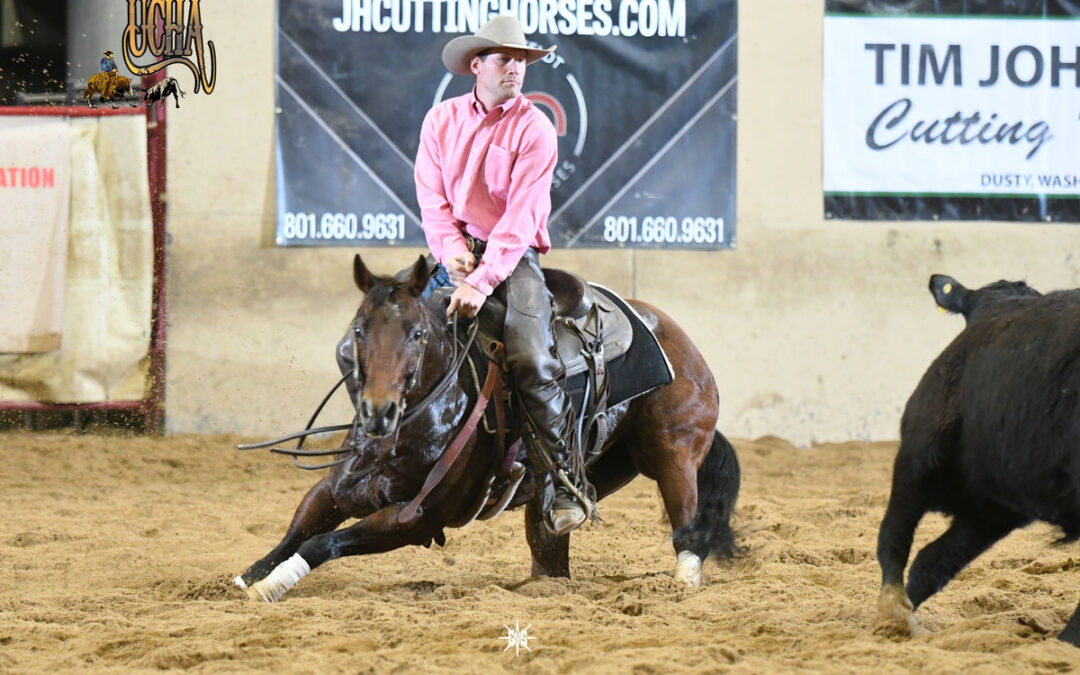
When the cow enters the arena during the cow work, the experienced showman starts sizing up the animal immediately. Some cattle head better than others, some are numb and won’t head at all, and some are a combination of both. The idea while boxing is to get on both sides of the cow to stop and turn it so when you get to the head on the fence, the animal will honor your horse and turn.
How long the animal is boxed has a lot to do with how the rest of the fence work plays out. Boxing too long takes too much juice out of the cow and the finish of the run is weakened. If you don’t box enough on an active animal, you risk not being able to catch and turn it on the fence and have a tough time finishing in control on the circles.
The #1 priority when judging the cow work is: Did the horse have position and control during the entire work? If they did, and had at least an average degree of difficulty, they should earn a good score. Reading the cow accurately allows the exhibitor to be consistent throughout the work and finish strong. Remember, using good judgement on a cow always gives you a fighting chance.
Thank you Bill Enk!
NRCHA Dir of Judges