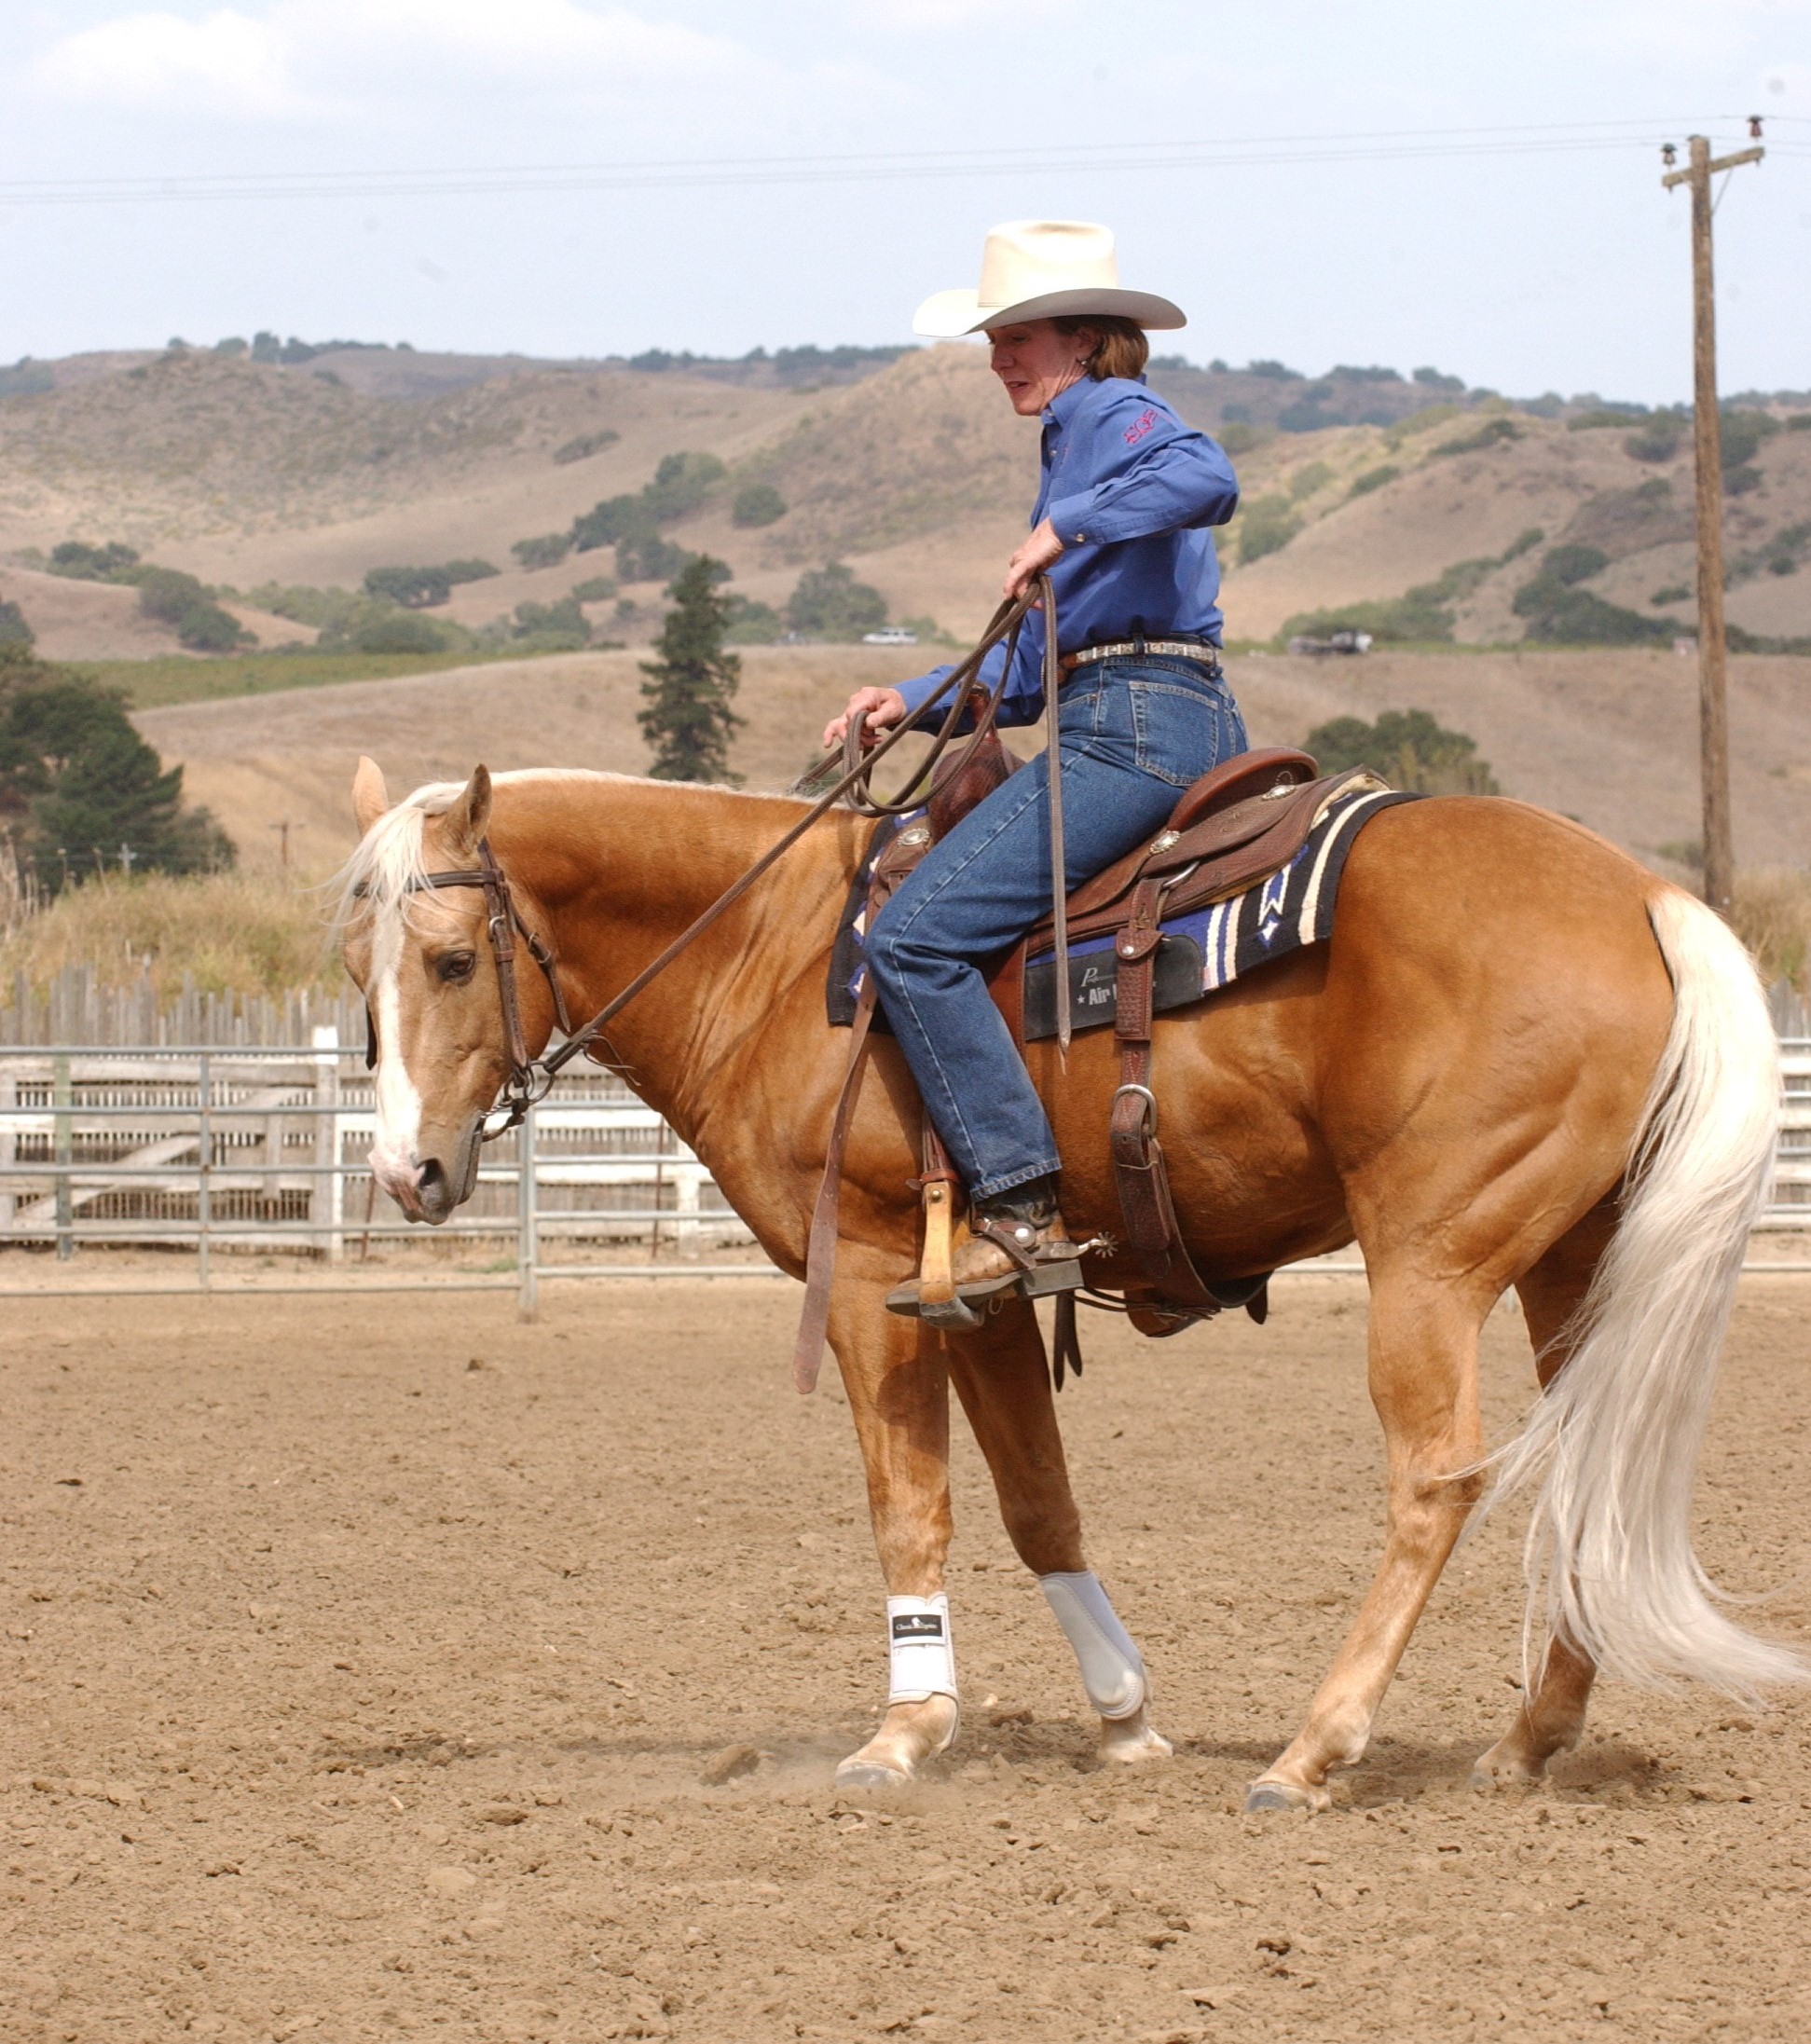
The goal. Your horse will make his circle smaller and tighter, while keeping his jaw soft and his neck level, with his nose tipped slightly in the direction of movement.
As the circle tightens to a pivot, his outside front leg will cross over the inside one. His hind legs will remain more or less in one place (you needn’t worry about either of them being “planted”).
You will want to move only as fast as your horse can maintain proper form.
Here’s how. Begin by reviewing Essential 2, Walking a Perfect Circle.
Do it in a corner of your arena, so you can use the wall as a visual marker and a physical barrier.
As your horse moves forward with energy, use pressure on the inside rein (to keep his nose tipped to the inside) and with your inside leg in neutral position (to keep the circle round), supporting with your outside rein against your horse’s neck as need be to keep the circle symmetric.
Then gradually begin to reduce the size of the circle.
When you’re ready to step around, remove the pressure of your inside leg and add a little backward pressure to the outside rein by pulling your hand gently towards your belly button (but not across your horse’s neck). Also bump with your outside leg just behind the cinch.
Remember, your inside rein is to indicate the direction of movement and to keep your horse’s nose tipped that way—not to pull your horse around. If you mainly pull that inside rein, you’ll pull your horse out of alignment. And that backward pressure on the outside rein is to suggest stepping across, and shouldn’t be used so much that it pulls your horse’s head to the outside, away from the spin or pulls him back to where he’s stepping behind or on his inside front foot. You’ll probably use your outside leg more than any other aide.
If you keep him aligned with both reins and both legs, you’ll be setting the stage for greater speed later.
In the beginning, don’t worry about speed at all — go as slowly as you must in order to keep your horse’s body properly aligned, his jaw soft and poll flexed, and his nose correctly tipped.
Be satisfied with just a step or two of the front legs crossing over before moving him back onto a slightly larger circle, re-checking proper form.
Then try again. Any time he begins to lose that proper form, move immediately onto the larger circle, reestablish his form, then try again.
Gradually, over time, ask your horse to add steps one at a time.
If you remain patient and keep showing him how to do it (as opposed to trying to force him), you’ll be surprised how quickly he’ll be willing to step all the way around.
Use a visual marker (a fence, bushes or other nearby landmarks if you’re practicing out on the trail) to keep track of how far around you’re going.
Be sure to work equally in both directions, concentrating on getting willing steps in each direction. Your horse will be stepping right around in no time!


Your point of view caught my eye and was very interesting. Thanks. I have a question for you.
I don’t think the title of your article matches the content lol. Just kidding, mainly because I had some doubts after reading the article.
Can you be more specific about the content of your article? After reading it, I still have some doubts. Hope you can help me.
Thank you for your sharing. I am worried that I lack creative ideas. It is your article that makes me full of hope. Thank you. But, I have a question, can you help me?
Hi Barb! Whenever I’m riding any who haven’t done this or any other manuever-or are doing it incorrectly-I slow myself down-really think of your breathing and setting them up with the consistent cue and if there is a step or two that IS correct-I always praise enthusiastically and go and do something totally different-rather than asking for it again and again. I’ve never had horses-by personality-that “tolerate” rinse and repeat cycles one after the other-but they’ve always been willing and quick to learn multiple maneuvers this way. A trail ride or open space is another nice place to practice just… Read more »