In a previous article, I covered Reining Essential 1 (giving his face). When your horse is responding well to that, begin work on Essential #2, walking a perfect circle. This one sounds easy, but it isn’t! Once you achieve it, you’ll understand the basics of maintaining control over your horse’s entire body.
Perfect circles will serve as the foundation for the circles and spins you’ll see in all patterns.
In perfecting your circles, you’ll also discover and overcome your horse’s magnets—that is, the things (like the barn or the trailer or his buddies) that draw him from the circle you have in mind.
The Goal
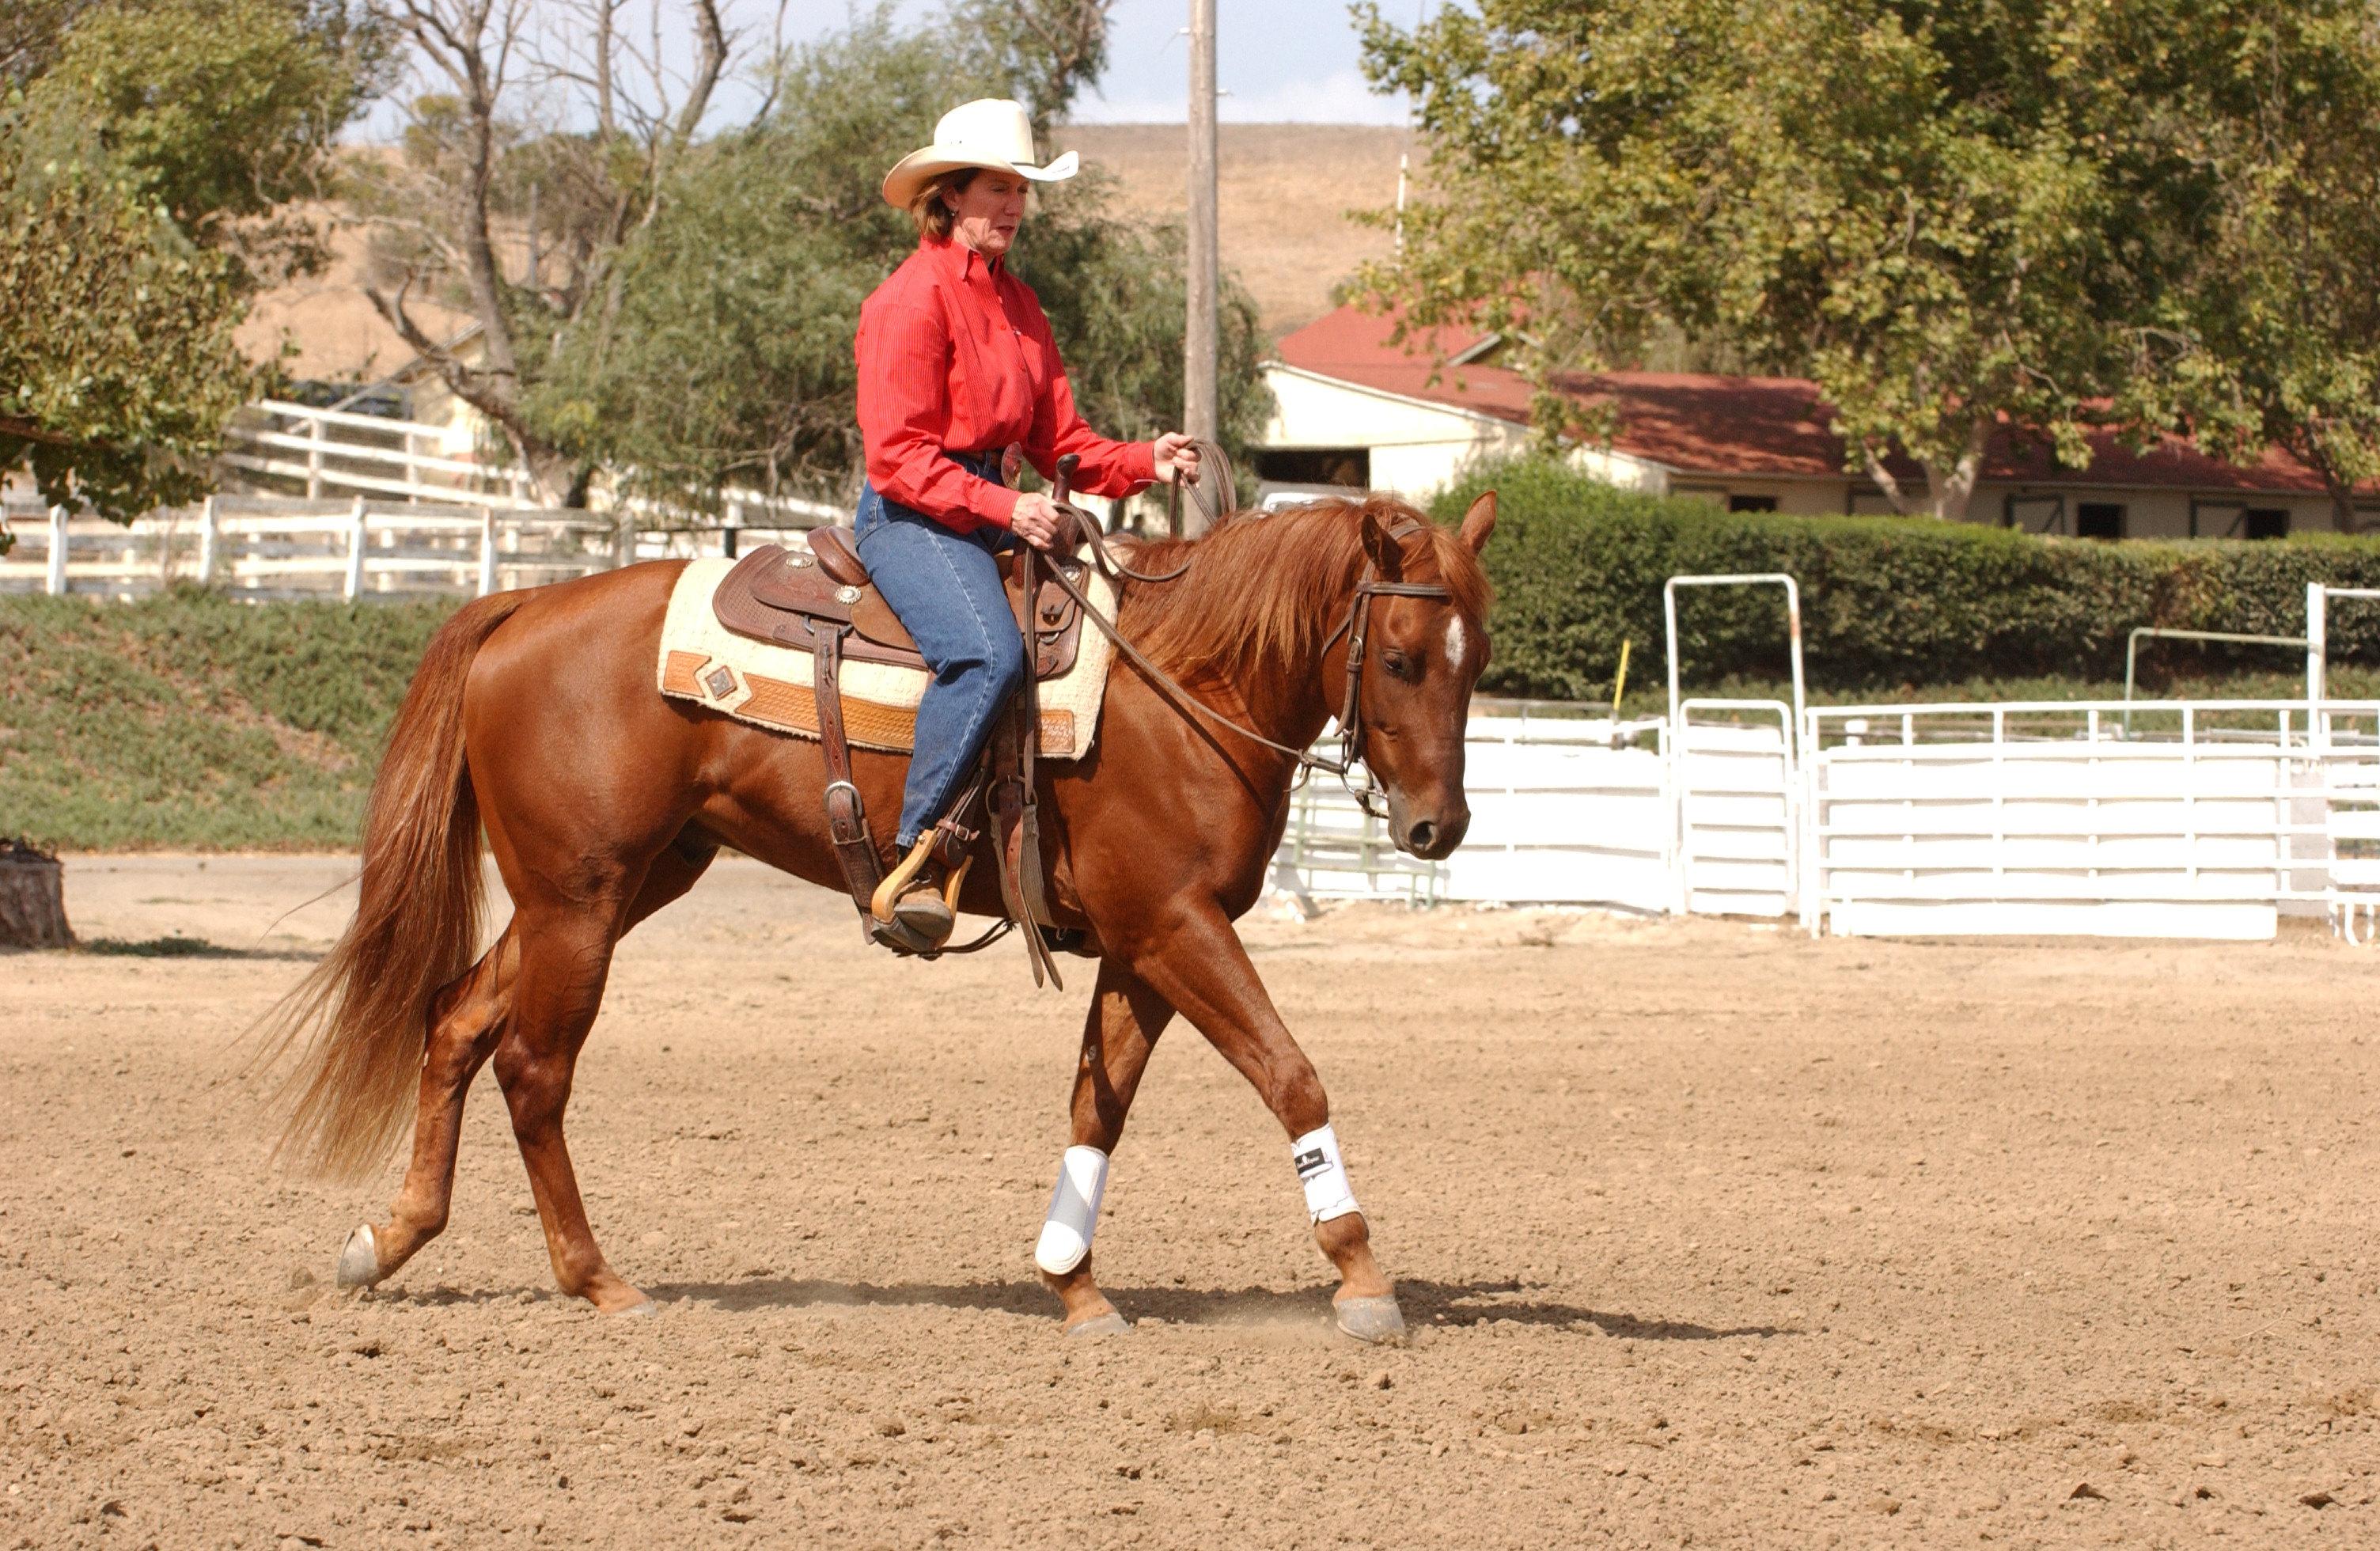
A perfect circle is a symmetric circle, meaning precisely round as opposed to oval, oblong, or egg-shaped. As your horse travels this circle, he should stay soft in your hand and flexed slightly to the inside through his neck and body, with no deviations in speed. His hind feet should follow in the tracks of his front. He should be equally soft and responsive in either direction.
TIP: Work on freshly groomed ground so you can easily see your horse’s tracks.
Walk your horse forward, using both your legs in neutral position to move him in an energetic rhythm. Keeping both your legs active, and with your hands 12 to 24 inches apart, apply light, direct-rein pressure on what will become the inside rein to tip his nose to the inside of the circle (so that you can just see the corner of his inside eye) and begin the circle.
Use leg pressure and the outside rein as needed, to keep the circle round. Horses tend to be asymmetrical; going to their “hollow” or right side (clockwise), they tend to bend too much. Going to their “stiff” or left side (counterclockwise), they tend to resist bending. You’ll need to compensate for this and help them become ambidextrous.
Dealing With the Hollow Side
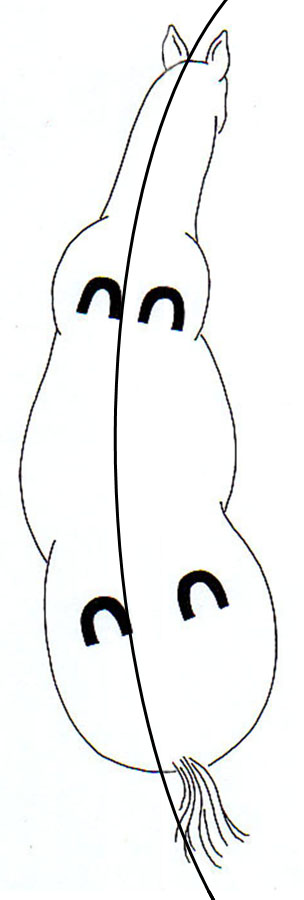
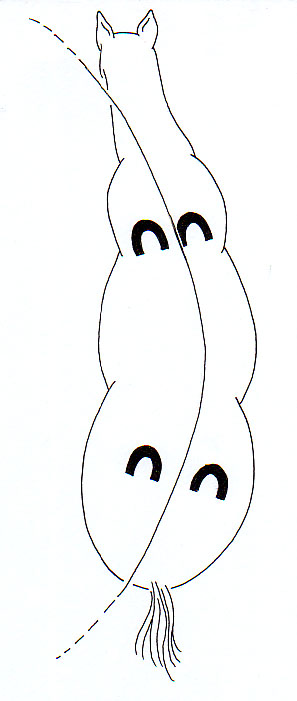
Circling to the right, your horse may tend to tip his nose in easier and bend too much, cocking his rear end into the circle while the circle gradually enlarges (see Diagram 4).

I don’t think the title of your article matches the content lol. Just kidding, mainly because I had some doubts after reading the article.
Your article helped me a lot, is there any more related content? Thanks!
Your point of view caught my eye and was very interesting. Thanks. I have a question for you.
Your point of view caught my eye and was very interesting. Thanks. I have a question for you.
Your article helped me a lot, is there any more related content? Thanks! https://accounts.binance.info/en-IN/register?ref=UM6SMJM3
Can you be more specific about the content of your article? After reading it, I still have some doubts. Hope you can help me.