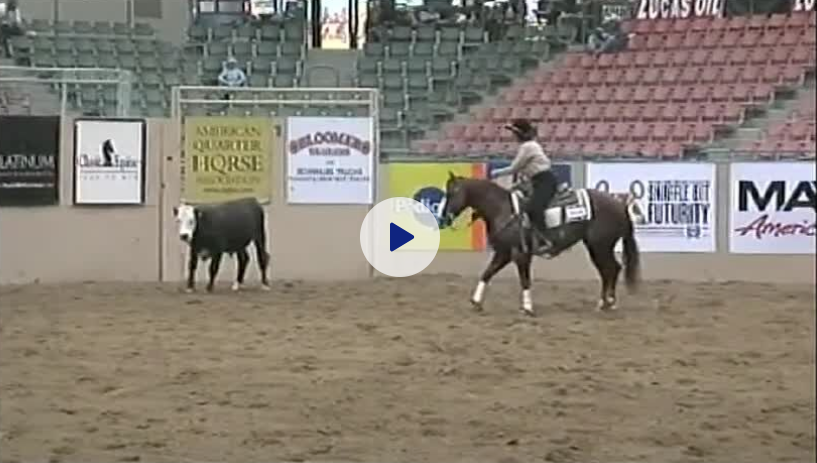
In the last boxing/fence article, I talked about control being the most important ingredient in the cow work. I covered the purpose of boxing and preparing to start down the fence. In this article, I’ll cover the transition from boxing to starting down the fence and rate.
Correctly gauging the length of time spent boxing will affect the cow’s speed down the fence. The rider should move the cow back and forth across the end of the pen enough to make it respectful and to take some of its air out.
It’s a judgment call to know when you’ve worked it enough, so you don’t get outrun, but not so much that you decrease the degree of difficulty to the point that you won’t score well.
Most of the time, the cow will tell the rider when it’s ready to go down the fence. It will be more accepting of your control, paying attention to the horse and not moving quite as fast.
Those signs are good if you can get them, but sometimes, the rider has to realize that the situation is just not going to get any better. Maybe the cow keeps bumping into the fence getting tired and more numb, or just running back and forth. If you feel that this is as good as it gets, your only option is to just go and hope it all works out.
You can always ask a knowledgeable trainer tell you when to go, if you’re uncertain. Strategy is another factor in this decision. Is your strategy for a high degree of difficulty and a big score like for a finals run? Or are you trying to get to the finals? I would always prefer my Non Pros take a few more turns in the boxing, rather than too few.
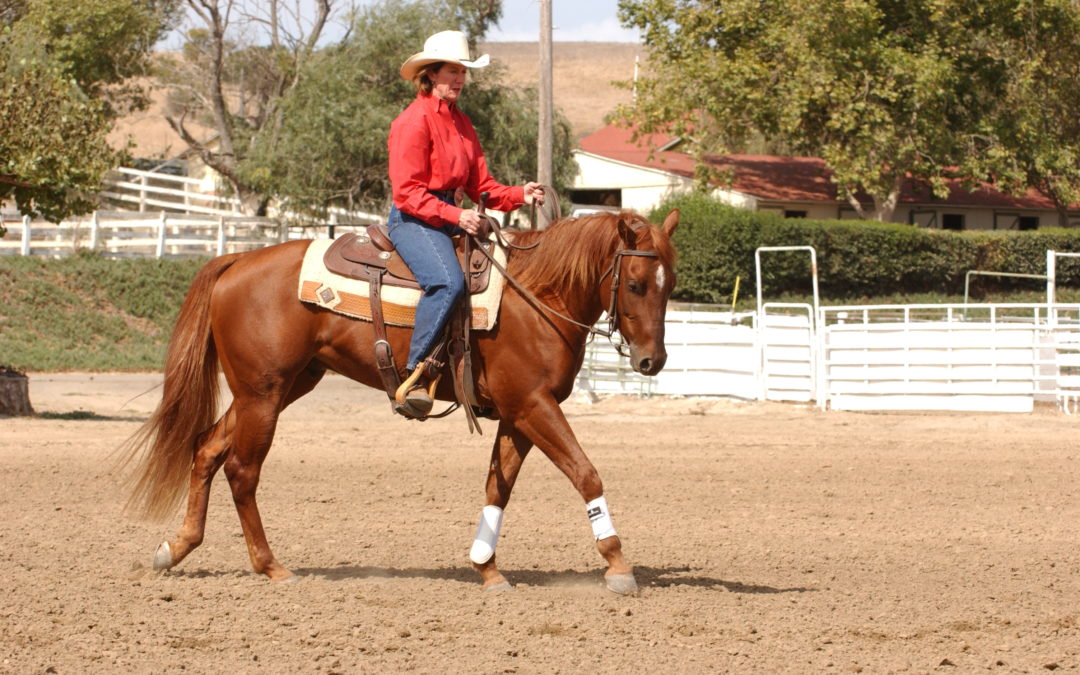
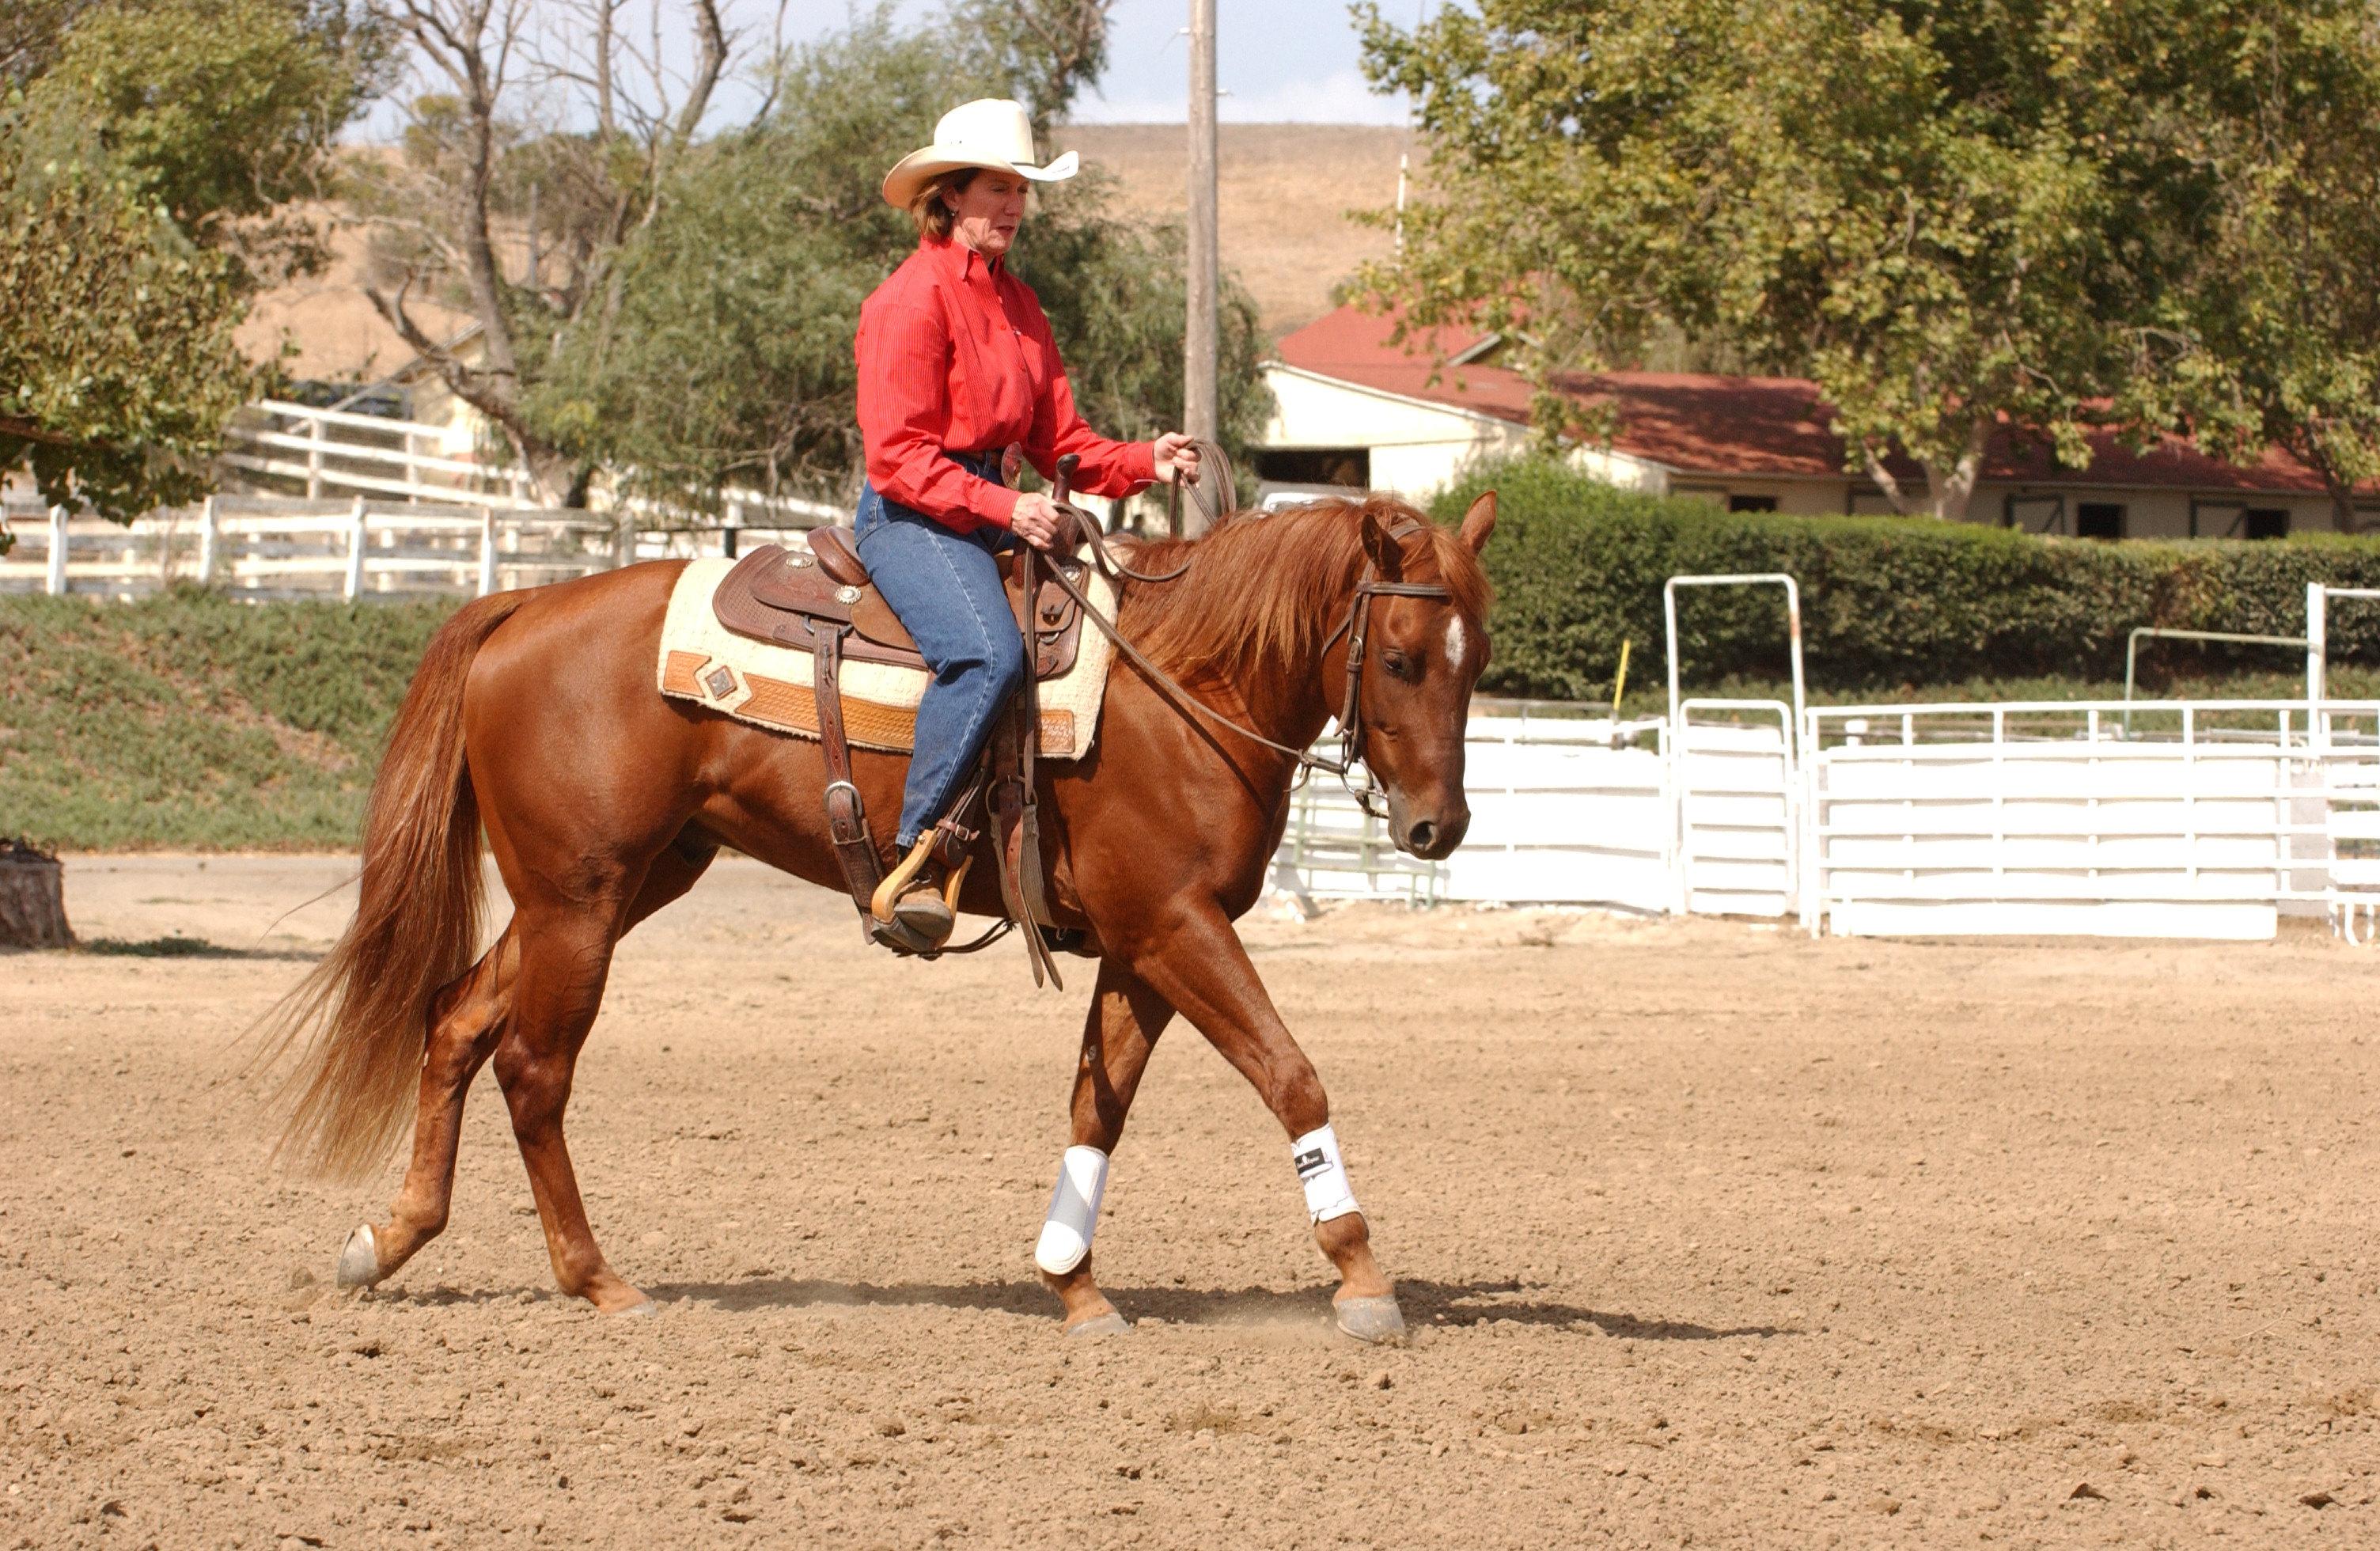
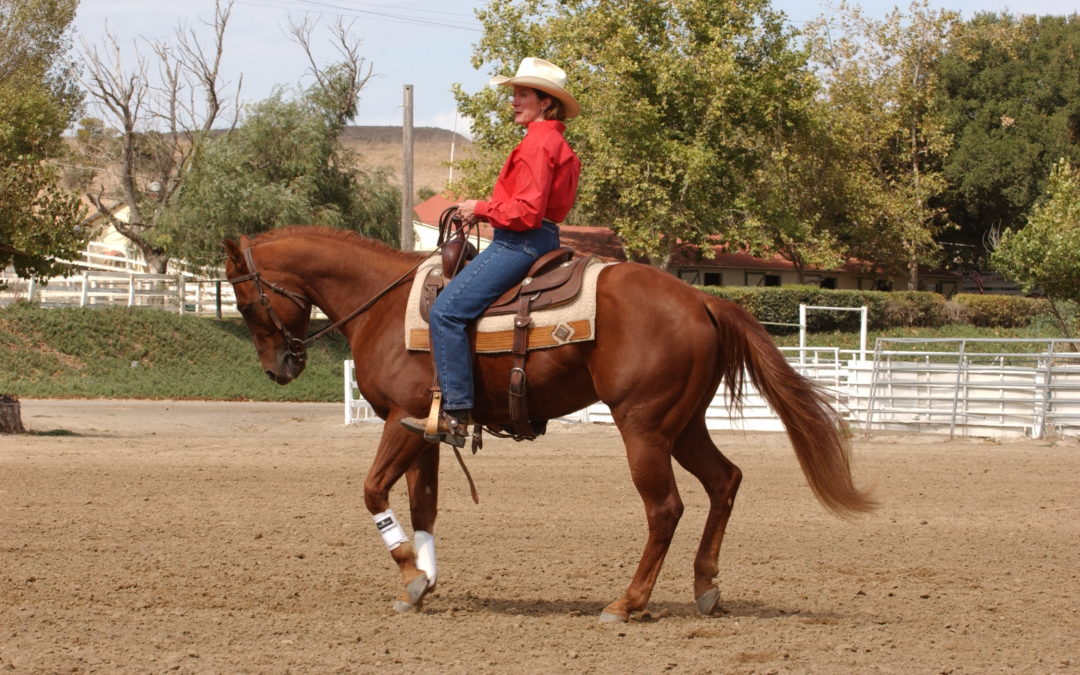
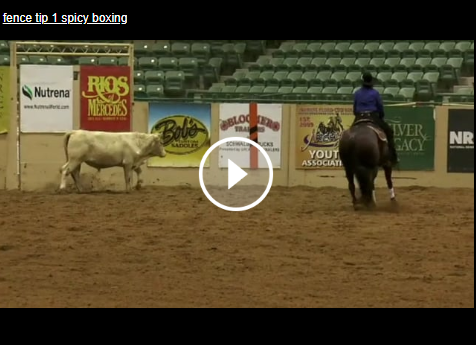
One of the most critical times in the run is the transition from boxing to going down the fence. Your ability to position yourself and your horse to drive the cow from the box and line it out down the fence, so you never lose working advantage, is the key to setting up a great run. It’s harder to get scored on a run that isn’t seamlessly put together. So, be sure to spend enough time on this at home.
If you leave the short end late, you won’t be able to catch the cow in time to get it turned, or you’ll have to run so fast to catch it that you end up going by it. It can also come off the fence if you’re not in position.
Conversely, leaving the boxing end and getting ahead too soon results in turning the cow too soon, which is a penalty.
That first burst of speed down the arena fence can be intoxicating to horses. They can anticipate and want to charge down the fence like they’re shot out of a cannon. Knowing that, I spend lots of time teaching my horses to get into the position to control the cow, and to stay there without argument until I decide to go by.
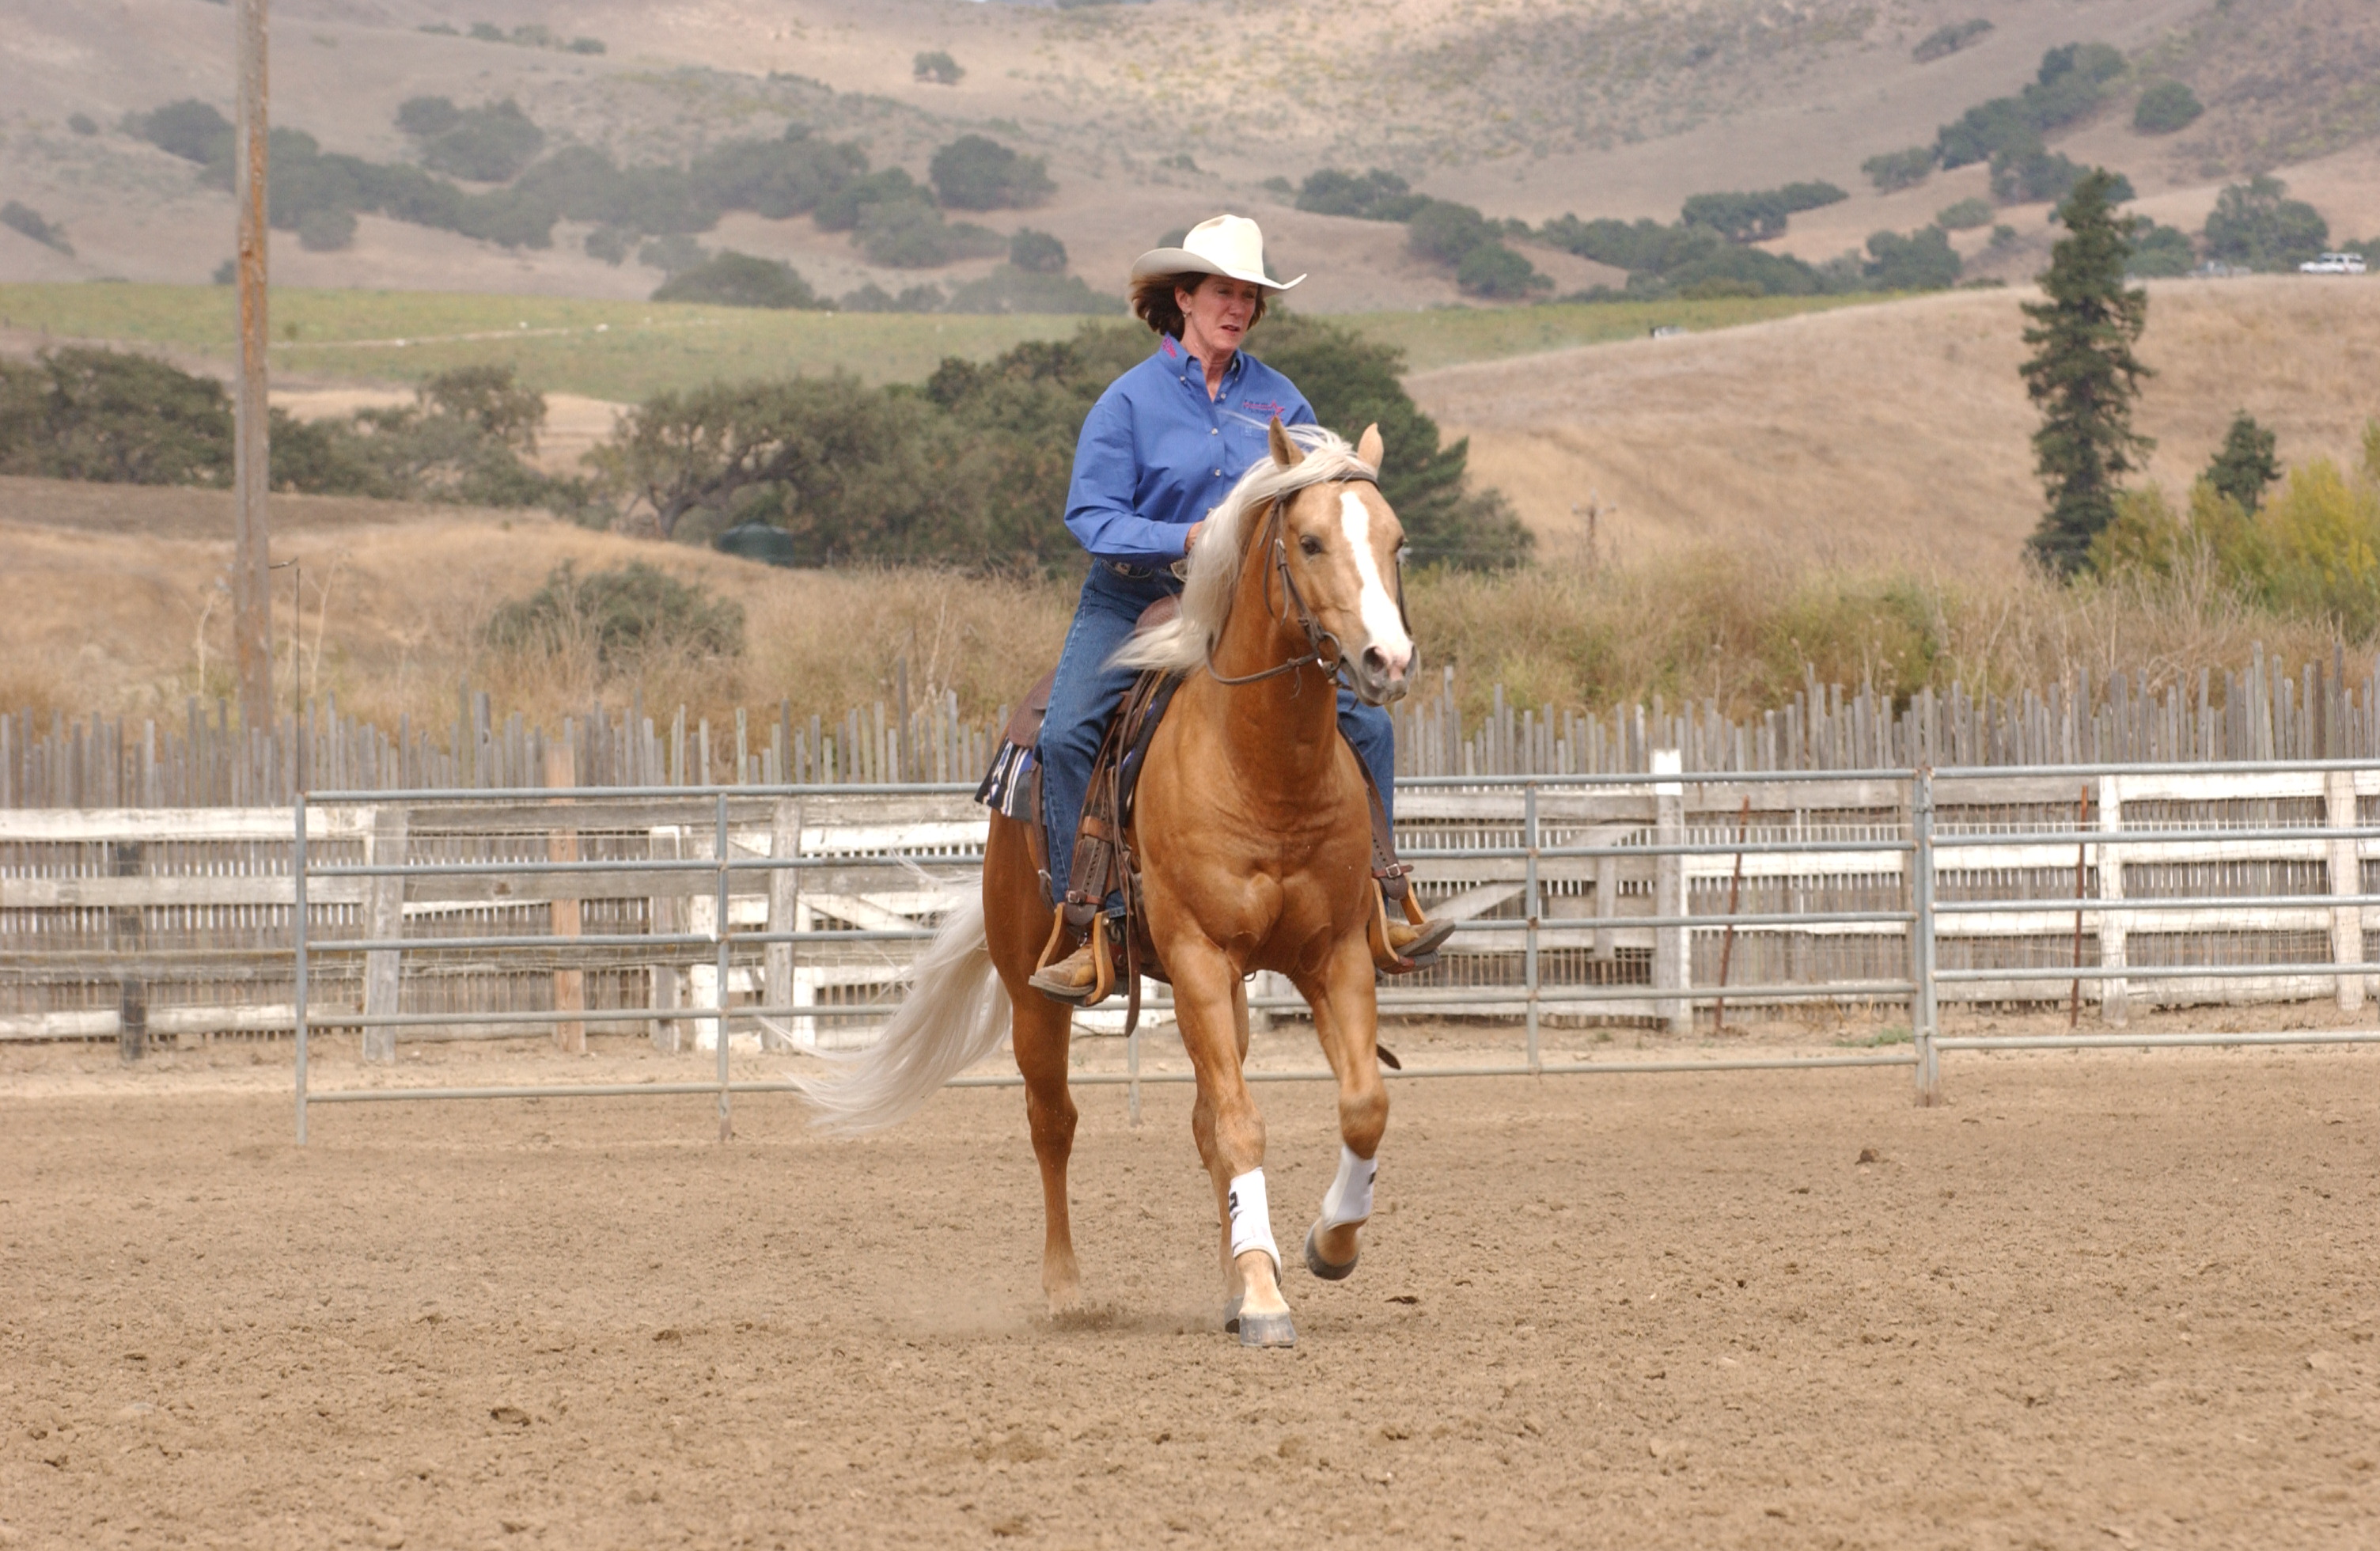
We call it rating. They learn their place on the cow from lots of repetition. Then, easing by when you ask. If they take hold and try to speed up, I’ll just stop straight, then lope after the cow again and hold the position until it’s a non-event. This event is called REINED cow horse meaning we should be able to rein them at any time, and have them respond well.
It’s all the control in between the turns that’s the real challenge. I spend lots of time transitioning from the short end and rating with the cow down the long side. I do this over and over at home until the horse doesn’t mind being directed. That’s one of the ways to make them stay correct and disciplined.
Riding smart contributes to the longevity of the horse. How in control you are of the horse and the cow directly affects how long they’ll stay honest in the show pen, as well as your score. Taking the time at home to keep them correct and honest really pays off.”
Then, when show time comes, if the horse is prepared and if the rider reads the cow correctly, the stage is set for a spectacular trip down the fence.
*****
Five Things to Remember:
- Always watch the cow! Never take your eyes off it, especially in the fence turns. Things happen very fast
- Sit up straight – Don’t lean. When you lean, the horse does too
- Be sure you leave the box with the cow in the right position.
- Maintain control of your horse and the cow at all times
- Strive to have very little separation (ie distance) between your horse and the cow