Essential 6 Moving Off Your Leg While Mounted

Essential 6 Moving Off Your Leg While Mounted

In the last article we worked on teaching our horse to move away from pressure while he was tied at the hitch or wash rack, and while leading from the ground. 
 

Now, let’s mount up and see if we’ve laid a good enough foundation.

Opening a gate. Now mount up and see if you can move both his front end and his hind end in order to open a gate. Ask a friend to move the gate manually, so you have both hands free to use your reins to influence your horse’s body. 
 

Line your horse up parallel to the gate. Have your friend push it open a bit toward you as you ask your horse to step sideways with his front end, away from the gate, by carrying both your hands away from the gate while using the foot nearest the gate at the cinch to encourage his shoulders over.
 

After he takes one step with his front end, apply pressure with your gate-side heel in the same spot as you did with the sweat scraper to move his hind end over a step, too. If he resists, bump with that heel behind neutral position until he takes the step. Go back and forth in this way, moving his front end, then his back end as your friend opens the gate a little at a time. Try to stay parallel to it and move with it until it’s open. Then sit there next to it and make that the good spot.
 

Be sure to work in both directions, so your horse is side-stepping both ways. Then try to do it without someone moving the gate for you. Then, reverse all the cues to teach your horse how to close the gate. Take as long as you need to master this step before you move on to work at the fenceline.
 

At the fenceline. Still mounted, position your horse so he’s facing into, and perpendicular to, a safe fence (nothing he can catch his front feet in or get his head over). Ask him to move first his front end one step to the side, and then his hind end, then his front again, and so on, so that he’s moving sideways down the fence.
 

To ask the front end to move, bring both your reins over in the desired direction while bumping with your “opposite” foot at the cinch. (That is, if you’re asking for a step to the right, carry your reins to the right while bumping with your left leg just in front of neutral position.)
 

After he’s taken one sideways step with his front end, use the same leg to ask his hind end to move, only this time bumping a few inches behind neutral position.
 

Throughout, adjust your reins as necessary to keep your horse’s neck straight and roughly perpendicular to the fence. When he can do it moving freely, front end and then back, try to move his whole body at the same time. Get this down well before moving to the next exercise.
 

Diagonally across the arena. Starting in one corner of your arena, ask your horse to walk forward and sideways diagonally across to the opposite corner, moving first his front end, and then his hind end, then the front again, and so on. Let’s say you’re in a right-hand corner, and will move him diagonally to the far left-hand corner.
 

Squeeze with both legs in neutral position to send him forward, then to move his front end to the left, bring both reins toward the left and bump with your right leg at the cinch.
 

Then keep forward motion going with a squeeze from both legs, and to move his hind end over, bump with your right leg a few inches behind neutral position.
 

Then repeat the sequence, working your way diagonally across the arena. For every step forward, you’ll move one step sideways. As your horse comes to understand better what you’re asking, work toward getting him to move both ends at the same time in a true leg-yield. You’ll be carrying your hands to the left, and using your right leg in neutral position– just behind the cinch.
 

Reverse all cues and work in the opposite direction. Be sure to provide equal practice going each way.
 

When your horse is responding consistently well at the walk, try it at the trot, and eventually the lope.

LET US KNOW YOUR THOUGHTS 

Essential 6 Moving Off Your Leg On the Ground

Essential 6 Moving Off Your Leg On the Ground

Getting your horse to move off your leg (or move laterally) is key to getting control of his whole body. Lateral control of the hind end and shoulders helps you in simple things, like opening and closing gates or backing in a straight line. It also makes possible more advanced maneuvers, like changing leads and spinning.

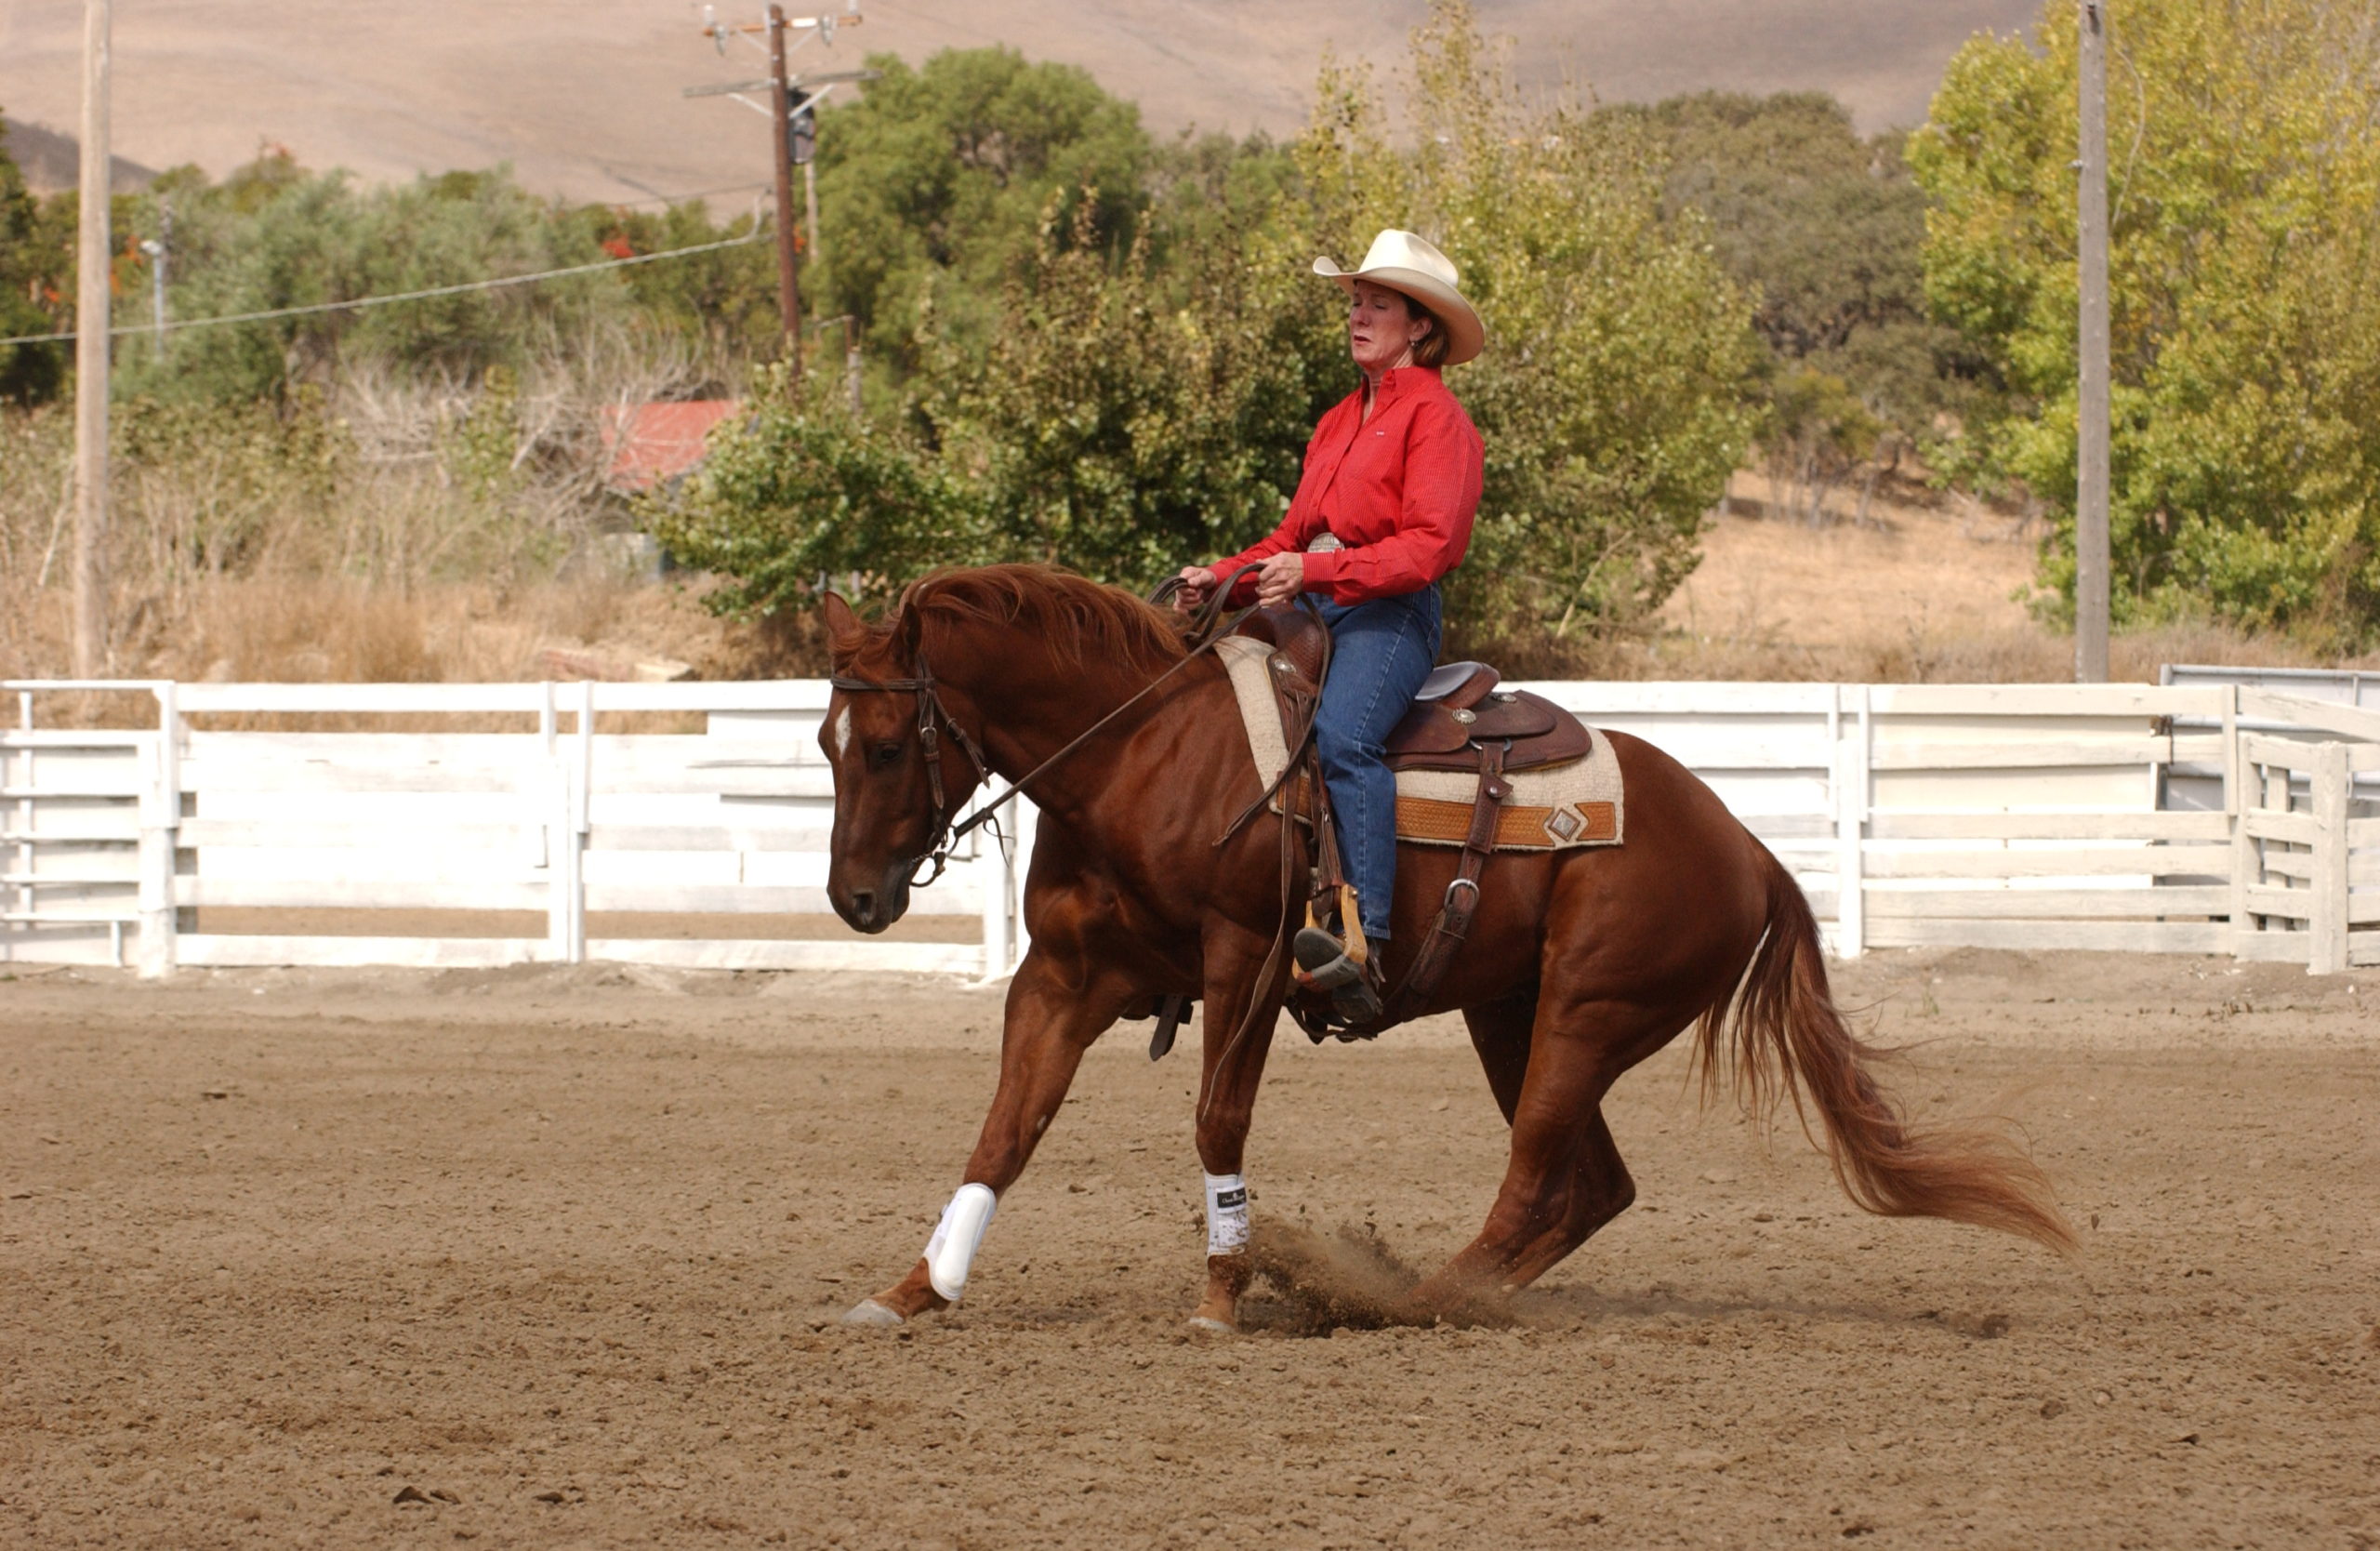
Horses naturally move into pressure, so young or green horses must be educated to move away from it, instead.

Ultimately, lateral control will enable you to “leg-yield” your horse diagonally across the arena at a lope–resistance-free, body straight, front legs crossing over each other. It will also help you execute a perfect sidepass, such as moving sideways down the length of a log, as in a trail class, and will help you with a beautiful spin.

For now, however, we’ll be satisfied with any movement sideways in response to leg pressure; the more refined lateral control will come later. In these exercises, you’ll ask your horse to move his rear end over as you stand next to him (at the hitching rack and then as you hold his bridle reins) and while you’re mounted (maneuvering him next to a gate to open it, sideways along the fenceline, and finally diagonally across the arena).

The goal. Your horse will maintain a soft face (that is, no bracing against the bit) as he (1) willingly moves his rear end a few steps sideways in response to pressure, and then (2) willingly moves his front end (shoulders) a few steps sideways in response to pressure. You’ll work toward getting both ends to move together, for a whole-body move to the side.

In the movement at the gate and along the fenceline, and in the more advanced maneuver diagonally across the arena (leg-yield), he’ll move first his front end and then his hind end separately at first. Ultimately, he’ll move both ends simultaneously in the leg-yield.

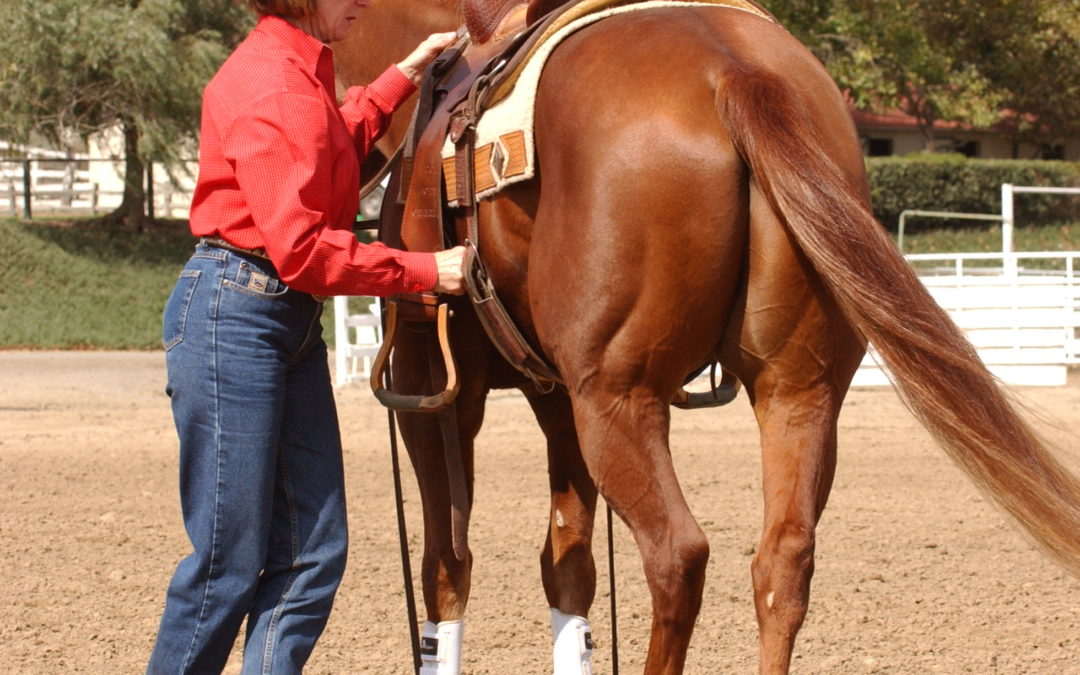
Here’s how: at the hitching rack. Practice this one whenever you’re grooming your horse. (NOTE: If there’s any chance your horse will pull back, untie him before conducting this lesson.) Stand at your horse’s side, and use a sweat scraper, hoof pick, or other hard object to create pressure (that is, mild discomfort) right where your heel presses on your horse’s ribs when you’re mounted. Your aim is to have him respond to the least amount of pressure possible, so start softly yet insistently. Don’t start with a jab.

The instant he takes one sideways step with a hind foot, stop and praise him, then ask for another step. If he resists, increase the pressure gradually in a push-and-release movement until he takes at least one step, always looking to get response from the least amount of pressure, and praising him the instant he responds. If need be, you can also pull his face towards you slightly as you ask him to move his hindquarters over.

Now go to his other side and ask him to step in the opposite direction, using the same cues. Repeat frequently from both sides until he responds willingly to mild pressure.

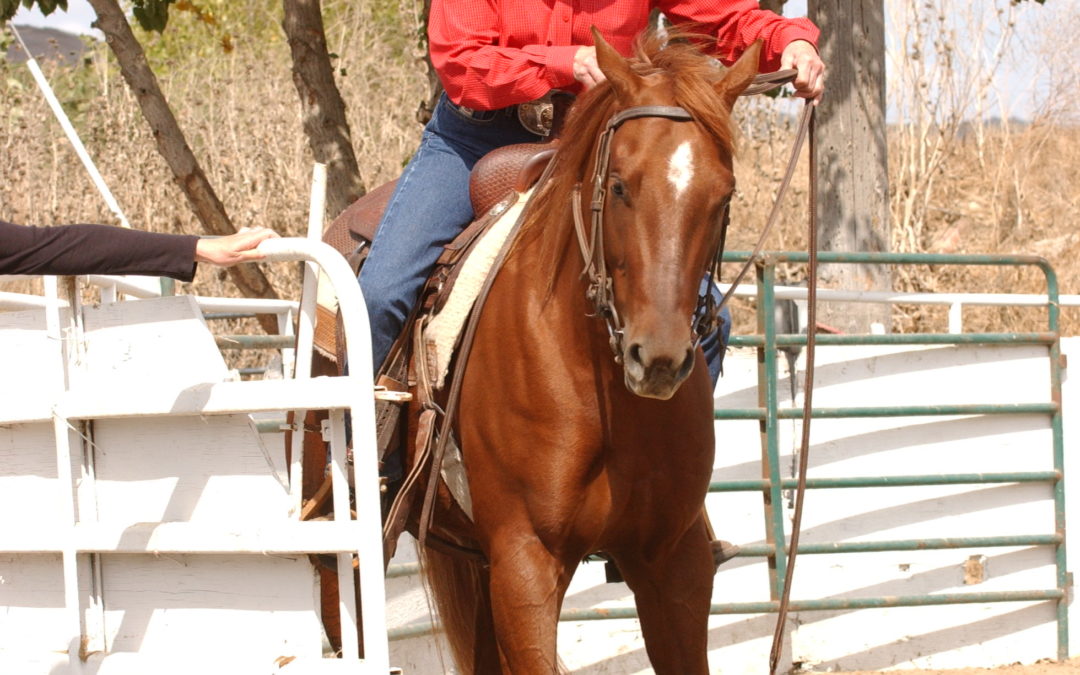
In hand. With your horse wearing a saddle and bridle, stand next to him, holding the bridle reins in your left hand and using the sweat scraper, hoof pick, or your thumb to create pressure, again just behind the cinch where your heel would normally be. By now, your horse should respond with a sideways step even as you use the bridle reins to keep his head straight. Strive to get him to move just his hind end over. We’re “disengaging” the hind end. You’ll want to be sure he’s good at this, as it’s the underlying secret to the emergency stop.

Switch hands and repeat from the other side.

LET US KNOW YOUR THOUGHTS 

Two fence turns or 3?

Two fence turns or 3?

The quicker you get your job done with the cow in the fence work, the better chance you have of a big score. That said, many scores have gone way down, because the rider decided to go with 2 turns on the fence instead of 3.

Dun It With Chics- One of my all time favorite fence horses. He could circle so fast, I never had to worry about 3 turns, but that’s the exception not the rule!

There’s a little bit of strategy involved with making that decision. If you’re in the prelim’s and you don’t need a big score to make the finals, you might take a third turn to be sure you don’t get outrun when you circle. However, if you’re already in the finals, and you’re going for the Big Burrito, you might go with 2 turns if your horse is an excellent circler. Then, there’s always the cow coming off the fence, and going out towards the middle after your second turn. You’re just flat stuck with circling without a third turn, in that case. There might not be a worse feeling in showing, than starting to circle, only to have the cow grab another gear. It’s like being caught on the end of the whip. There’s really no repairing that. You can switch quickly to the other side well before you’ve completed your first circle, and gain a bit of ground (be sure to come back and circle the original way though), or loop it back for another turn on the fence. Either way though, you’re not fooling the judge! Just make the best of it. In general, 90% of the time, it’s better to take a third turn, so until your level of experience dictates otherwise, I’d just plan on it.

LET US KNOW YOUR THOUGHTS 

Riding Smart 11-13

Riding Smart 11-13

This is a continuation of riding smarter not harder horsemanship skills.

Here are Tips #11-13

• Be creative.

I usually try to teach my horses something a certain way, but if I’m not getting through by the third attempt, I take a different approach. In other words, I won’t force a horse to learn something “my way.”

Let’s say I’m asking for the transition from the large, fast circle to the smaller, slower one, and my horse won’t slow down. I can lope him until he wants to slow down, then reward that thought. This works with many horses, but if it doesn’t, I may try breaking him down to a trot, then to a walk, then to whoa and rest.

I may also try pulling him into a circle to slow him down. Or, as a last resort, I may draw him “into the ground” and back him up to reinforce my point.

Ultimately, you must figure out what works for each horse, as each learns differently.

Some trainers have a “my way or the highway” mentality. When a horse fails to respond, they say, “This horse doesn’t ‘fit’ me, or boy is he dumb” What they’re really saying is, “I’m not very creative.”

• Be systematic.

Don’t try to teach your horse something you haven’t laid the foundation for.

Also, don’t get into an argument you don’t have the tools to win. Before you ask your horse to move laterally, for example, you must first be sure he understands the concepts of giving to bit pressure and moving away from pressure on his sides.

• Go back to get ahead.

Start every schooling session by asking your horse for something he already knows well and is comfortable with. Then, after he’s shown you a few times how solid that is, sneak another little bit of learning in there.

For example, go back to walking a good circle before you ask for that little lateral step. Break all learning down into small chunks, always returning to the last thing your horse did well (especially if he gets confused), then inching forward from there.

This keeps him in a positive frame of mind for learning.

LET US KNOW YOUR THOUGHTS 

Riding Smart 11-13

Reining Essential 5 – Troubleshooting Whoa

Teaching a horse to stop brings out all kinds of problems, not because the horse wants to be bad, usually it’s our lack of timing, and balancing on the reins that causes their resistance.

Troubleshooting. Common problems in basic stopping, and how to fix them: 
 

• Not trying to stop at all:

Use the doubling and/or circling maneuvers. Getting pulled around and/or circling will start to feel like a lot of work to your horse, so he’ll learn that simply stopping is easier. Once his feet stop moving, release all aids and sit while you praise him. 
 

• Stopping reluctantly:

Get a bit more assertive with your hands as you’re backing him a step or two once he does stop. Then sit quietly for a while and scratch his neck.
 

• Stopping on his front end (he’ll feel as if he’s propping on his front end and you’ll feel like you just got “dashboarded” in a car).

Shift his center of gravity back by sitting back yourself and picking up your reins chest height, (don’t pull down toward your hips) and holding them steady while you bump with your legs in neutral position until your horse picks up his shoulders and backs up off the bit. It will feel as though his shoulders have lifted up into the area under the front of the saddle and his back has rounded. Then, the next time you ask for the stop, make sure you’re driving him with your legs to keep his hind end engaged as he stops and then backs up off the bit. Also, be sure you give him a chance to stop before you pull, and let him rest when he does.
 

• Stopping crooked (by leaning or dropping a shoulder).

You’ll probably notice that your horse leans to his left side (because of that natural asymmetry of horses) and/or towards the magnet of the barn or the out gate. This causes him to kick his hip out to the right when stopping.
 

First, don’t ask for the stop if your horse is moving crookedly—go around again and use your reins and legs to straighten him out, then ask. If, despite your best effort, he still stops crooked, back him for a few steps on the straight line you were originally on, then turn him 180 degrees away from the barn or whatever was the magnet.


For example, if he’s leaning left then you’re correcting him to the right, bring your right rein back towards your right outside belt loop and let your left hand come toward that same belt loop, only stopping at his neck (without crossing over it), as you push him with your left leg at the cinch and roll him back to the right. This will help you get his shoulder realigned, so he keeps them both picked up.


Hope these ideas help!


LET US KNOW YOUR THOUGHTS